|
|
||||||||||
|
||||||||||

|
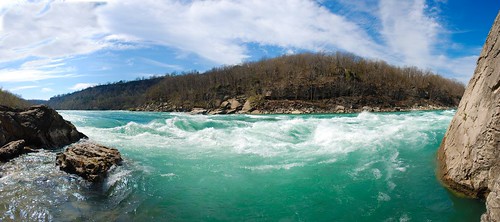
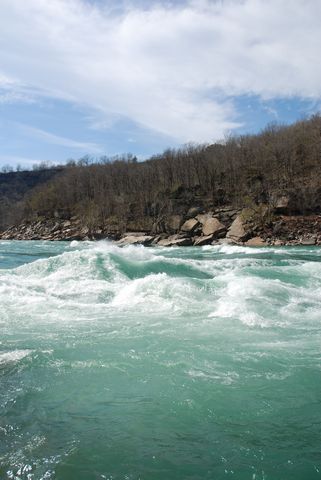
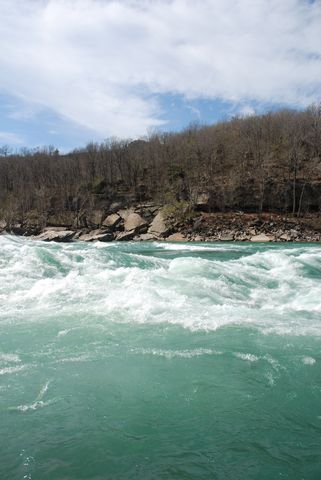
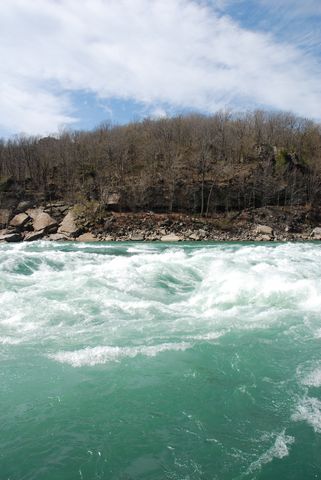
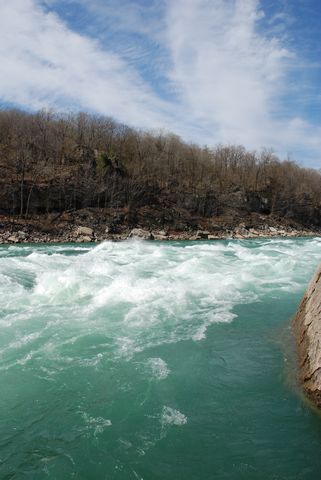
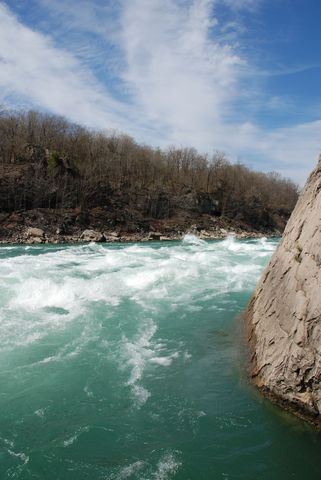
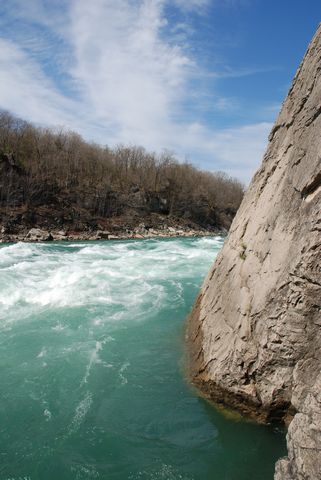
Creating panoramic images is a fairly simple process compared to what it used to be. Originally it required a special kind of camera with an exceptionally wide angle lens to capture the entire width of the scene. Next came stitching, a process of taking multiple overlapping images to form the panoramic image. This required that every image be at the same focal length, on the same plane of rotation, and the same orientation. Even after all that, it still required tweaking and fumbling to get the final image just right. The latest generation of panoramic, or photo stitching software, has taken most of this hassle away. Better yet, some software is even free. The image below was taken in the Niagara gorge with the camera hand held on its side to get more height to the image. A tripod is recommended, but by no means is it required.
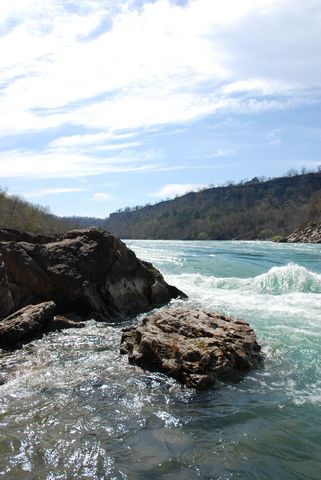
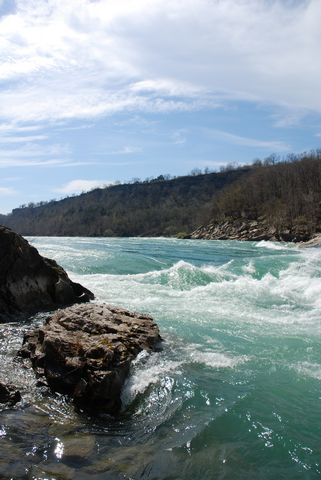
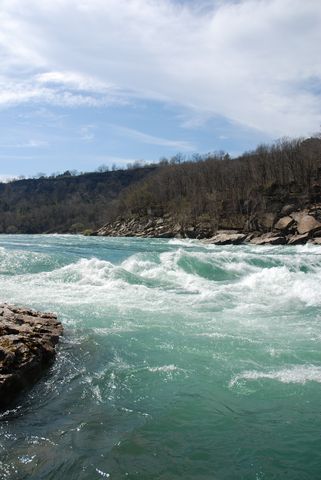
To start off you will need a few things. First, you will need Hugin, a free software to perform the stitching. Click on the download link and select the pre-compiled version. Once you have that installed, click on each image below and save them to a folder on your computer.
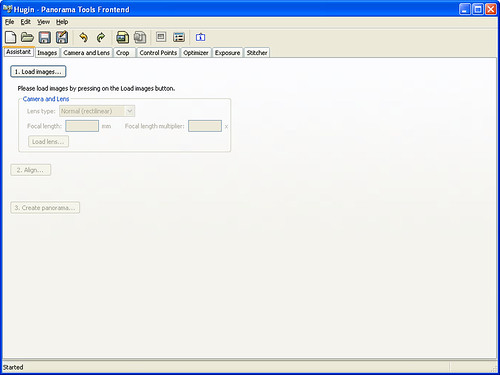
Now that you have installed Hugin and downloaded all the sample images above, go ahead and start Hugin. You should see a screen like below.
Click on the Load images button and a file dialog will open up. Select the all images you saved a few steps ago and click on Open. After some strange gyrations buy the mystical panoramic calculations, you should be presented with a preview like below.
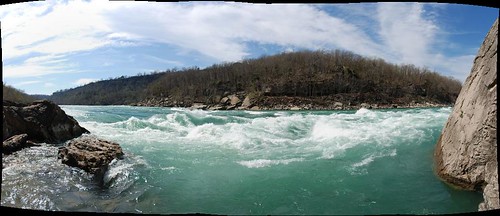
Change the projection drop down to Equirectangular. Don't worry that the image looks or not what you expected. You may notice the water looks like a bunch of thin vertical images stuck together. That will be corrected in the output process. Go ahead and close that window by clicking on the little X at the top right hand corner and go back to the main screen you were on before. Once there, click on the Stitcher tab to view the stitching options.
You are almost done. Click on the Calculate Optimal Size button to get the best resolution in the output. Click on Stitch Now, enter a file name, and click on Save. After a bit more of watching the calculations scroll by, the final images will be saved.
The only thing left to do now is to crop the black areas around the edges. These are created by the camera not being completely level and also by the warping of the image that occurs when stitching it together. Just load the image into your favourite image editing program and use the cropping tool to trim out the unwanted stuff around the edges. Tips for taking the images.
Another thing this software can do is produce what is know as giga-pixel images. You are not restricted to just left and right, or up and down. Taking images that overlap both up and down and left and right can be stitched together. Load them into Hugin the same way as a normal panoramic and it will stitch them together. Now go out and have some fun with your camera. For more information, check out the following links. |